For immediate help, please review our Help Topics below. Or you can contact our support team.
Support
Help Topics
- Account Activation
- Accessing Distributed Packs
- Accessing Packs in the Mobile Apps
- Viewing a Pack in the Mobile Apps
- Working with Notes & Highlights on a Mobile Device
- Accessing Packs on a Laptop or Desktop Computer
- Viewing Packs on a Laptop or Desktop
- Working with Notes & Highlights on a Laptop or Desktop
- Your Profile
Return to Top
Account Activation for SharedBook Participants
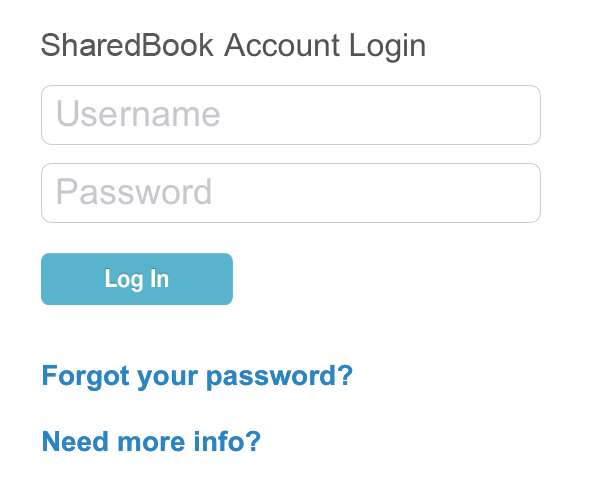
When accessing distributed packs for the first time, you will have to activate your SharedBook account using a web browser (your account cannot be activated through the SharedBook iOS or Android apps). This is a quick step taken after clicking a pack link in the email invitation received when material is distributed. The link in the email will open a page where you set up your account password. This action only has to be taken the first time SharedBook is used.

Once the password has been entered, your account is activated and you can access distributed packs in the SharedBook Web Reader, or using the SharedBook iOS or Android apps.
 Return to top
Accessing Distributed Packs
When a pack is distributed through SharedBook, you'll receive an email invitation to view it.
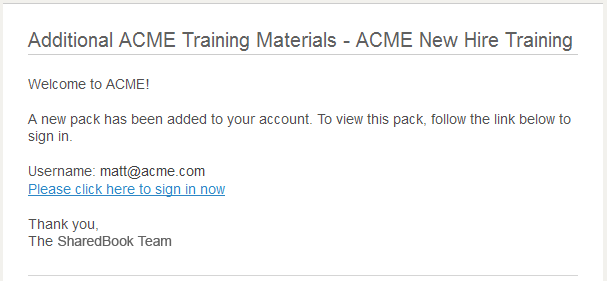
To access the pack, just click on the "sign in now" link in the email and sign into your SharedBook account in a web browser or open the SharedBook app on your mobile device.
Return to top
Accessing Packs in the Mobile Apps
Downloading the Apps
It's easy to access and view packs using the SharedBook mobile apps. To get started, you'll need to install one of the SharedBook apps—download the iOS version for iPhone and iPad from iTunes, or download the Android version from the Google Play Store.
Downloading Packs to the Apps
Once the app is installed, you can download packs from your SharedBook account into the app Library. In the app, log into your account using the email address that the pack invitation was sent to and the password you entered to activate your account.
After logging into your account through the app, you'll see a list of Packs that have been distributed to you. You can tap on the Download link next to each one you wish to download to your Library.
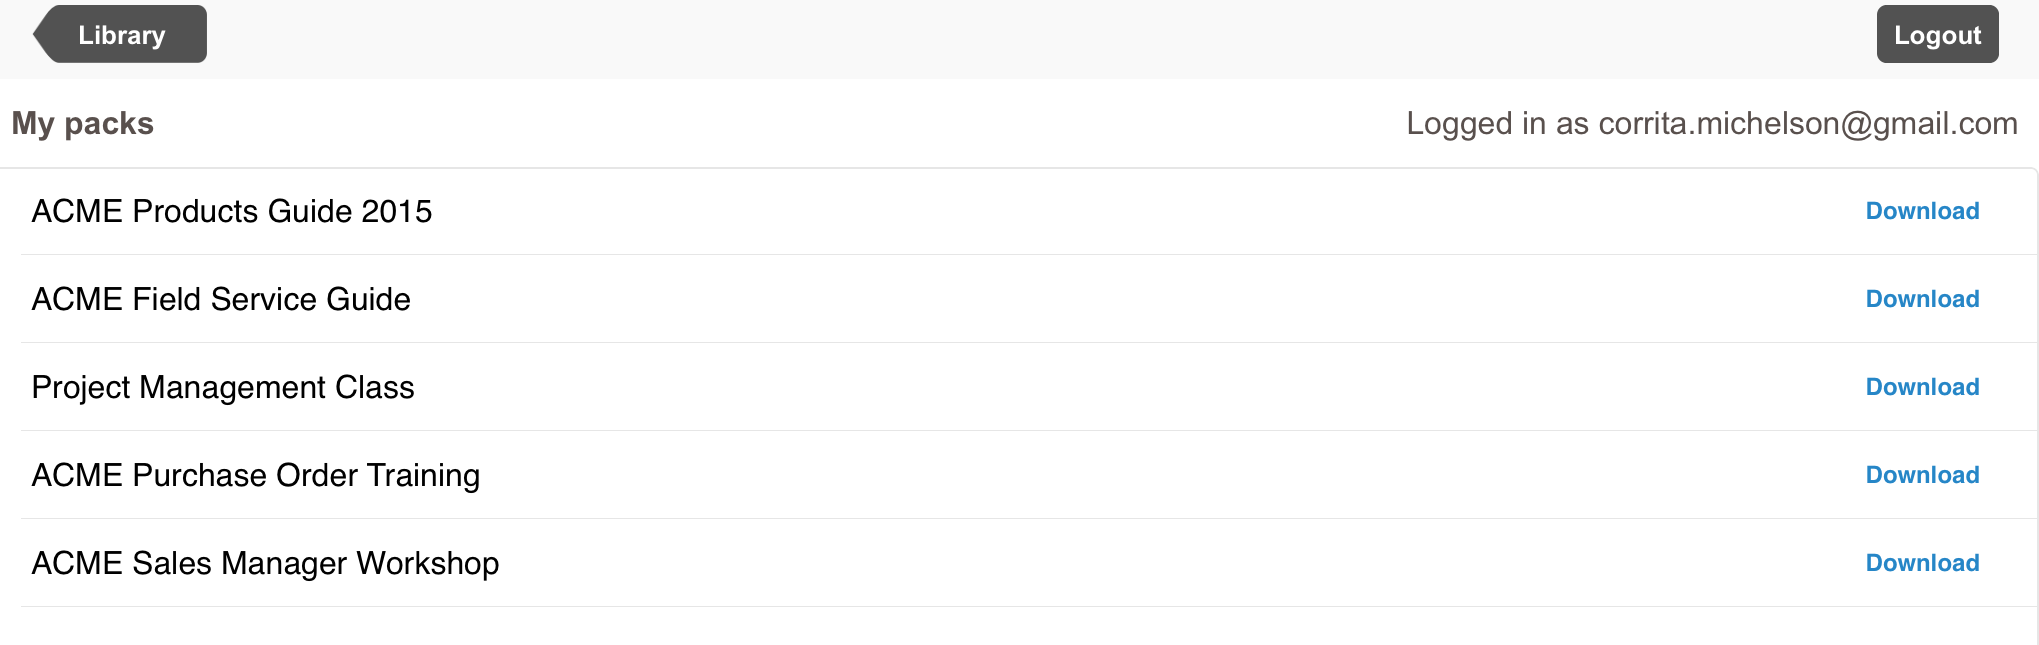
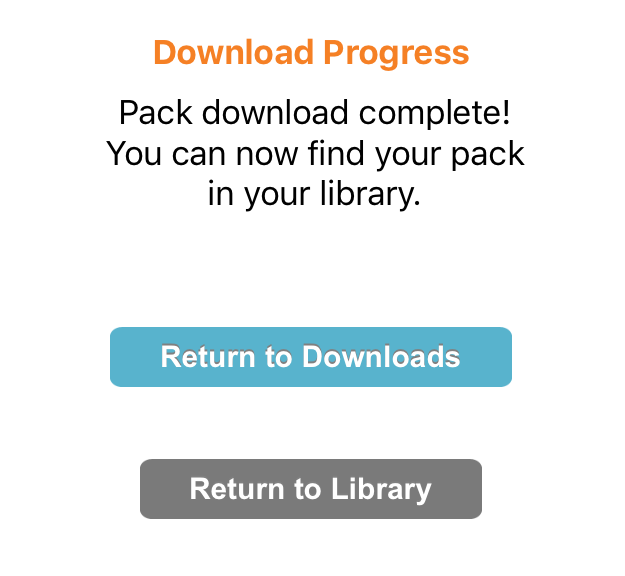
Once the download process has finished, you'll have the option to return to the list of packs in your online account, "Return to Downloads", or to go to the Library shelf and open your pack, "Return to Library".
Library
Your Library offers easy access to downloaded packs—just tap a pack to open it in the Reader. The Library has two views—list and thumbnail. To toggle between them click the fourth icon on the right, it changes based on the selected view.
List view: ![]() Thumbnail view:
Thumbnail view: ![]()
List view shows a list of your packs. Click the thumbnail icon to return to thumbnail view.

Remove and Re-order Packs in List View
You can also tap the Edit button in the upper right of the screen to remove packs from the shelf or change their position.
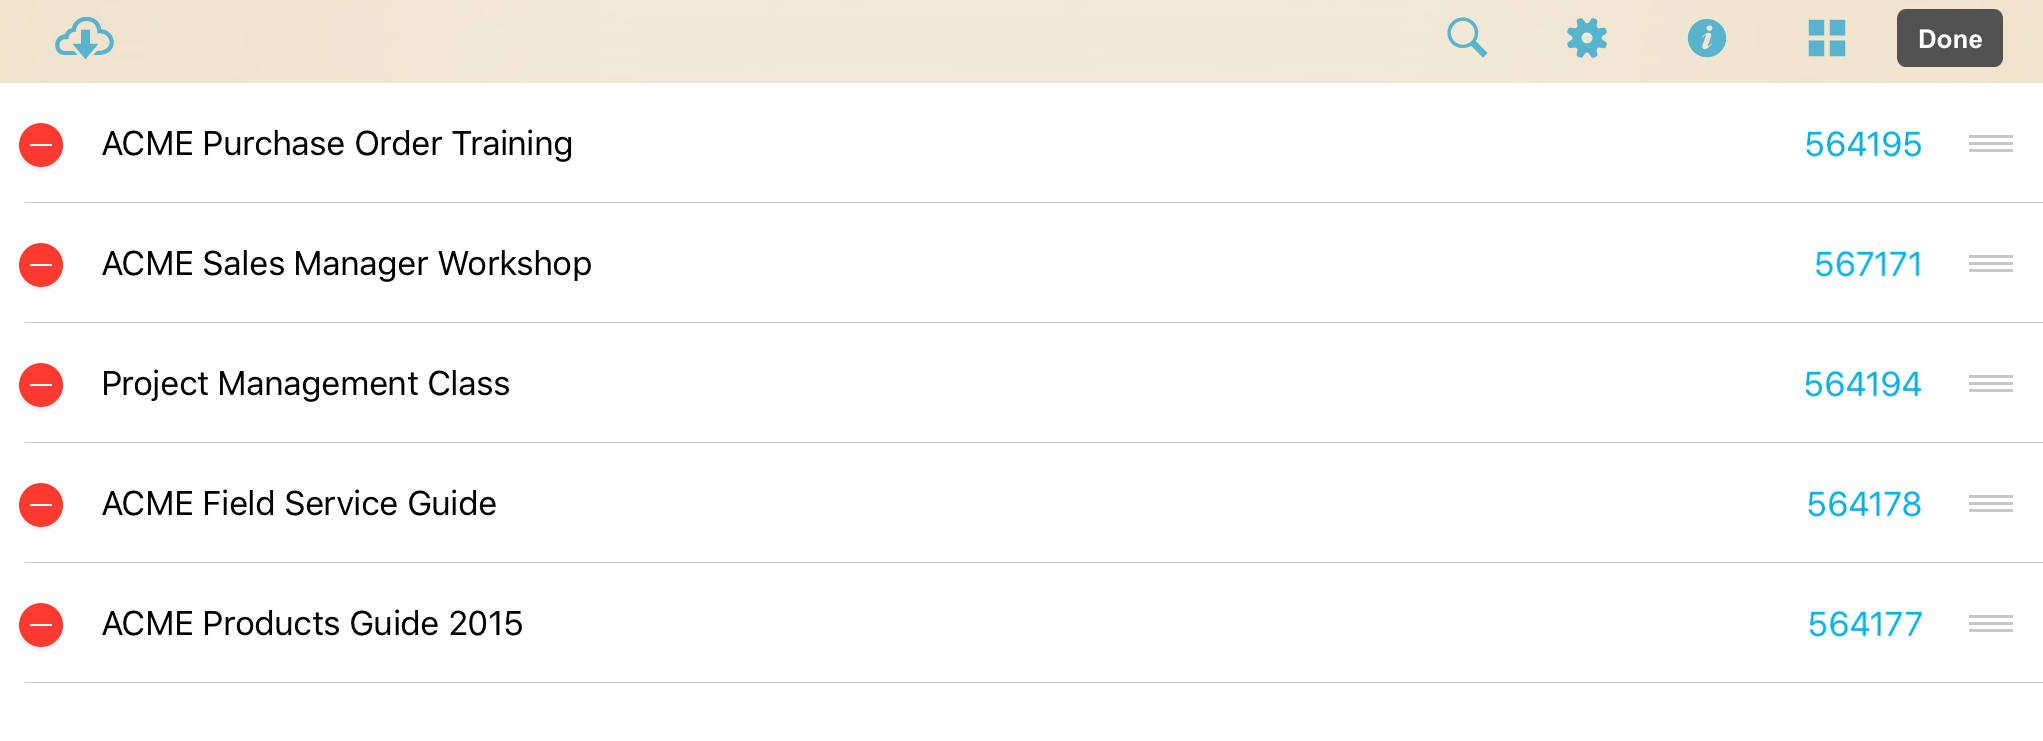
To remove a pack, select the red circle with a dash in it (to the left of the pack name). To change the position of a pack in the list, select the three horizontal lines icon (to the right of the pack name) and drag it to the desired location. Once you're done editing, tap the Done button on the upper right.
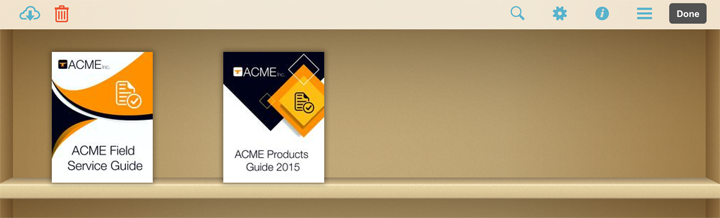
Remove and Re-order Packs in Thumbnail View
You can also remove and re-order packs in thumbnail view—tap the thumbnail view icon ![]() to toggle back to that view, then select the Edit button to the right of it. A Done button will appear, when you've finished your changes you'll use this button to leave the editing mode.
to toggle back to that view, then select the Edit button to the right of it. A Done button will appear, when you've finished your changes you'll use this button to leave the editing mode.
You can now select a pack that you want to edit. Once selected, a red checkmark will appear on its cover.
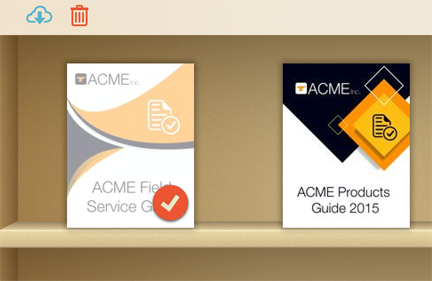
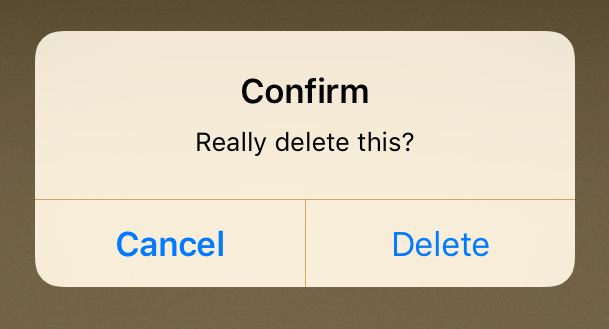
To delete a selected pack, tap the Trash Can icon in the upper left of the screen. After this you'll be prompted to confirm the deletion.
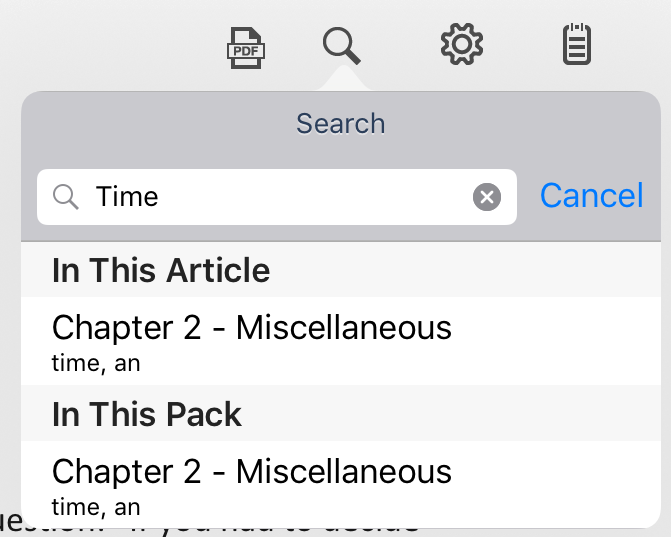
Searching Pack Content from the Library
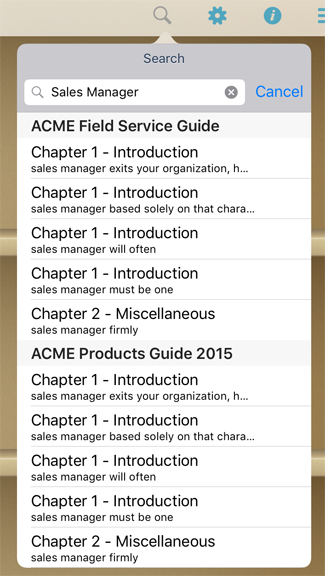
From the Library view you can perform several other actions. To search for something across all of the packs in your library, tap the Magnifying Glass icon in the toolbar at the top and type in your search term(s). Search results will appear in a list showing the location of the results in the packs. Select the correct result and it will open the corresponding pack to the desired location.
Settings
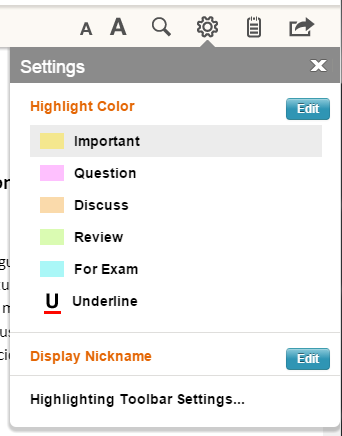
By selecting the Settings icon, you can edit some of the settings that will be applied when you're highlighting and commenting on packs.
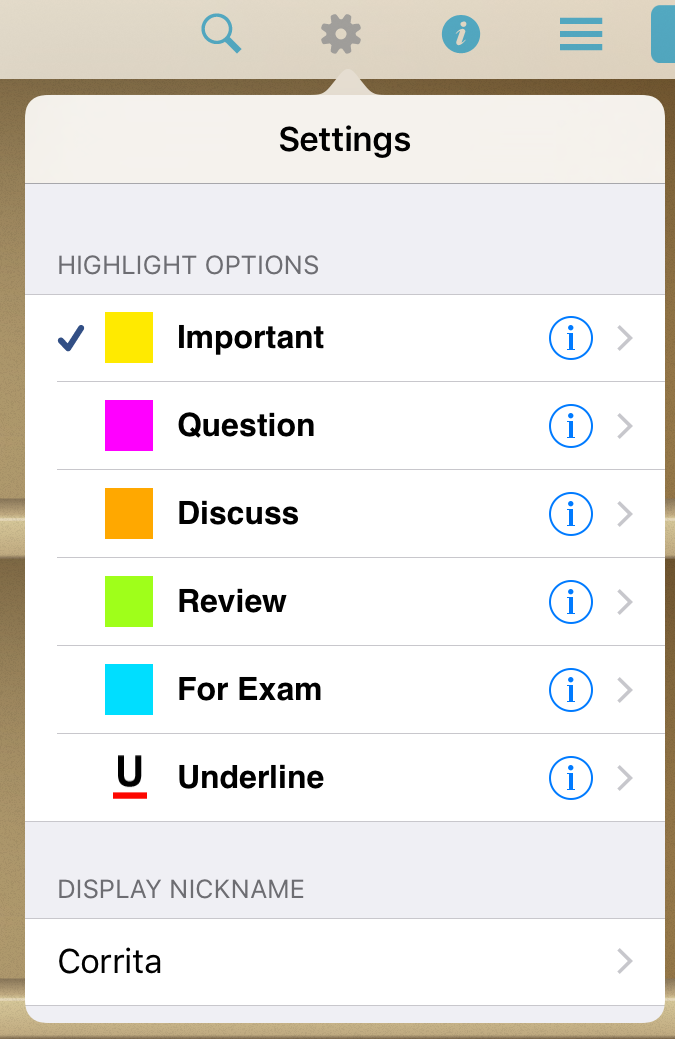
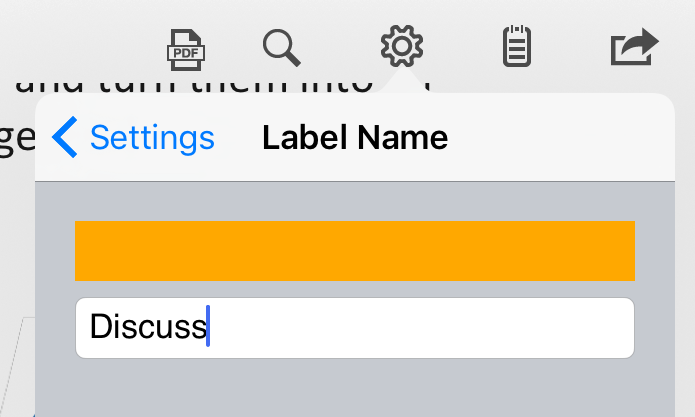
You can select any of the Highlight options and change the label name for each color highlight—you can also select Display Name to change which name is used when you highlight or make notes in a pack. This is the name that will appear alongside your notes and highlights when you share them.
Return to topViewing Packs in the Mobile Apps
To start reading a specific pack, just tap on it from either the List or Thumbnail view.
Once you open a pack, use the navigation controls at the bottom of the screen to page forward and back, swipe to scroll page content, or you can tap the Contents icon on the upper left (three horizontal lines with dots to the left of them) to see each section of the pack.
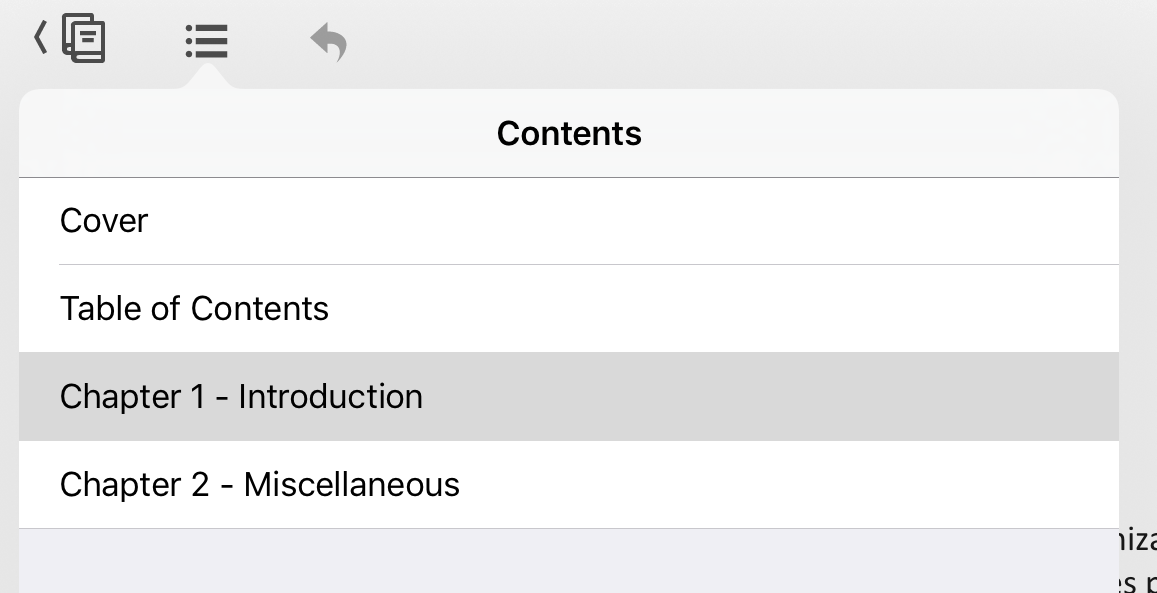
Navigate to specific articles using the pack's Content panel and selecting the Article you want to read.
Icon Glossary
 |
Settings | Tap this icon to access settings such as highlight color and label. |
| Library | Tap this icon to return to the Library of packs on your mobile device. | |
| Content | Tap this icon to view the list of articles in your pack. Select a title to navigate to the first page of the article. | |
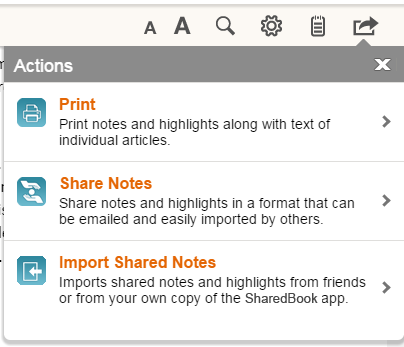
| Actions | Select this icon to Share Notes or Print. | |
| Back | If you've selected an internal exhibit or footnote while reading your pack, and you wish to return to original location, tap this icon. | |
 |
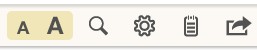
Font Size | To change the font size of the pack, tap on the small 'A' to decrease the font or the large 'A' to increase the font. |
 |
PDF Content | To change the reading size of an article that's in PDF format, double-tap or pinch-to-zoom to increase or decrease the size of the font. |
 |
Search | Tap this icon in the Library view to search across all packs and notes in your Library. Inside the pack, this icon allows you to limit your search to the current pack. |
| Notes | Tap this icon to access your pack notes, or to view all notes and highlights. |
Return to top
Working with Notes & Highlights on a Mobile Device
Create Notes and Highlights
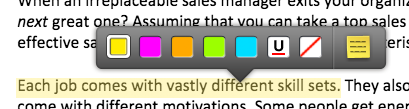
While reading a pack, you can select specific text and make a highlight or note. First, select the text you want to work with.
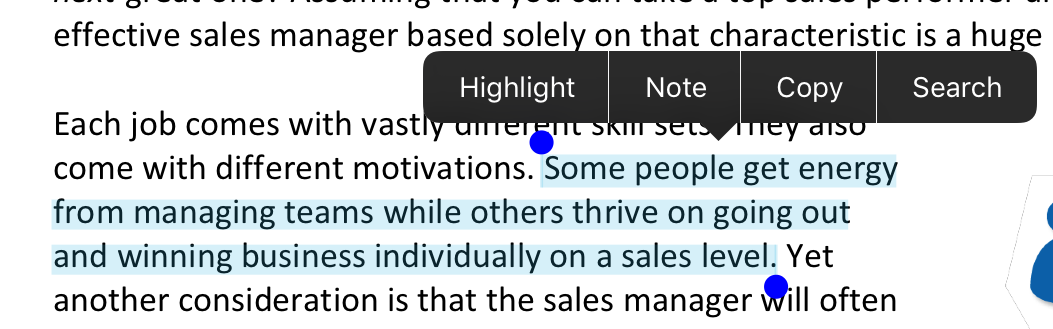
When text is selected, a toolbar opens with options to add a highlight and make a note—you can also copy and search. Selecting Highlight will highlight the text. For more highlighting options, tap the highlighted text to open the highlighting toolbar. You can change the color of the highlight, add a note to it, or remove it.

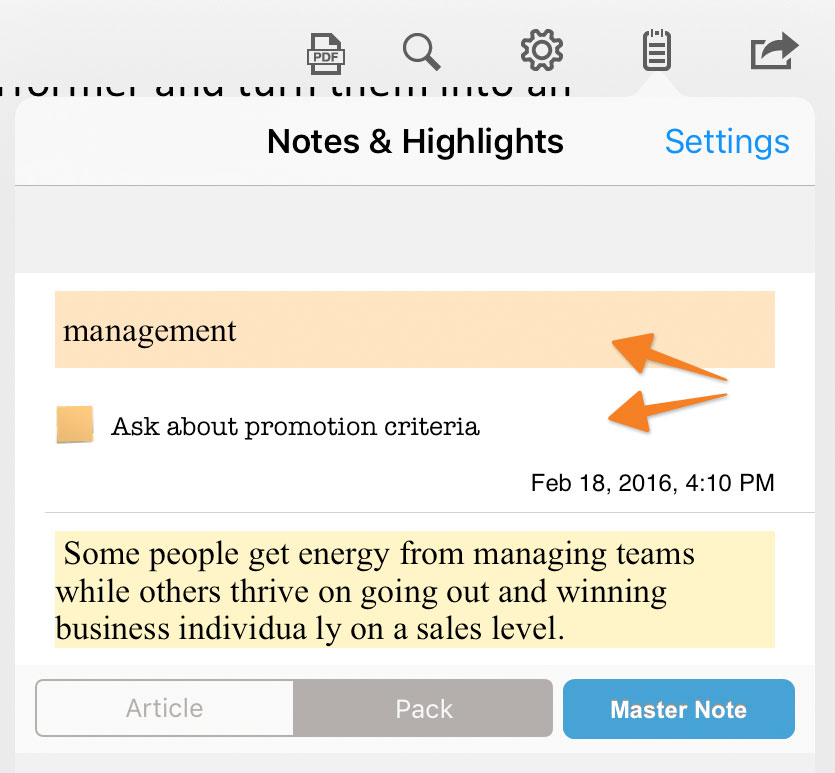
Notes and Highlights Panel
Highlighted text and notes also appear in the Notes & Highlights panel. Access the panel by selecting the icon in the upper right of the screen. Tapping the highlights and notes in the panel will take you to their location in the content.
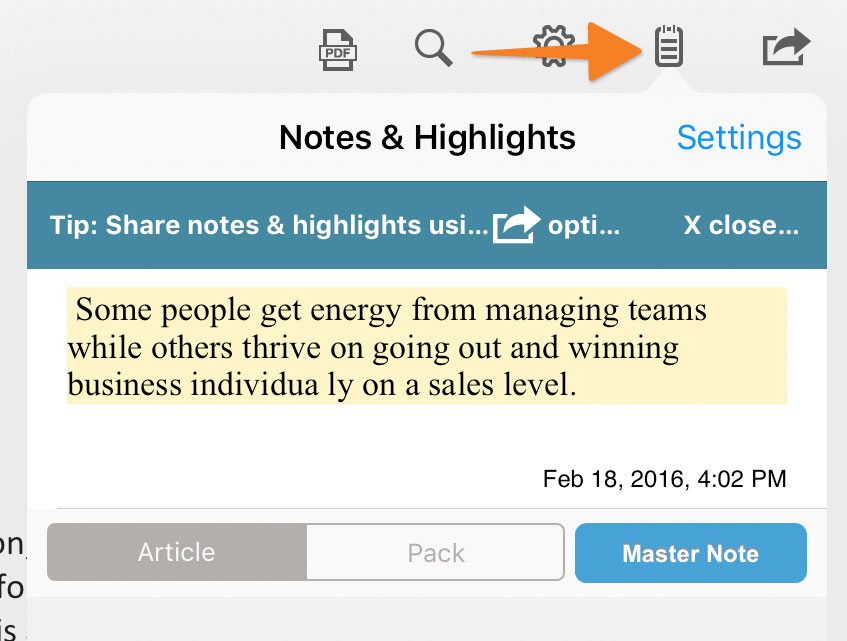
Notes appear in the panel under the text highlight they're associated with.
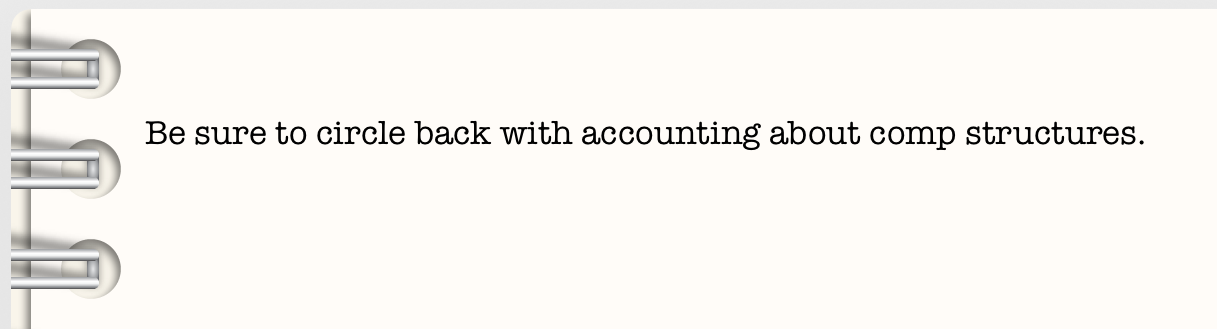
Master Notes
You can also add Master Notes to a pack. Master Notes are different from the regular notes anchored to article content. Master Notes are more of a notebook for you to use in a general way that doesn't mark up an article's content.
Search
You can also search within the pack you're reading by tapping the Magnifying Glass icon. Enter text and it will find all of the places in the pack where that text occurs, letting you select a result and be taken to that specific section of the pack.
Settings
The settings menu provides another option for changing the default highlight color—the next highlight you make will be in the color that you select here. You can also change your Display Nickname—the name that appears on your shared annotations (provided that the sharing option is enabled for this pack).
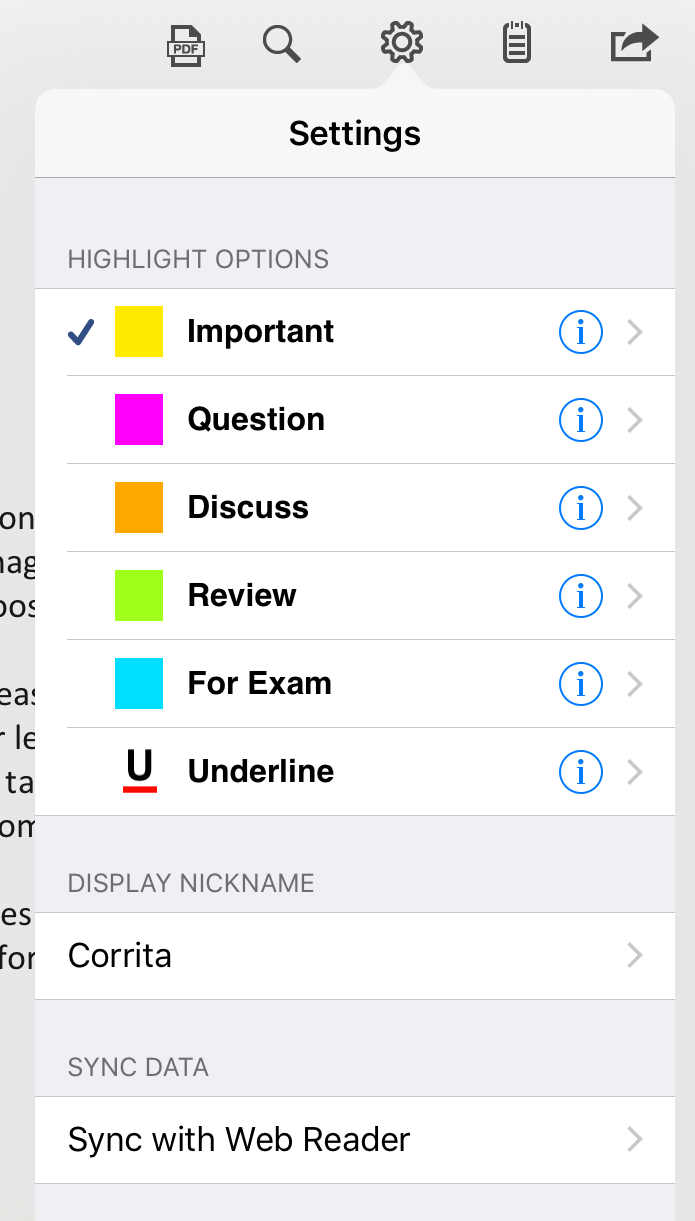
You can also enter custom labels for specific highlight colors.
Sharing Notes and Highlights
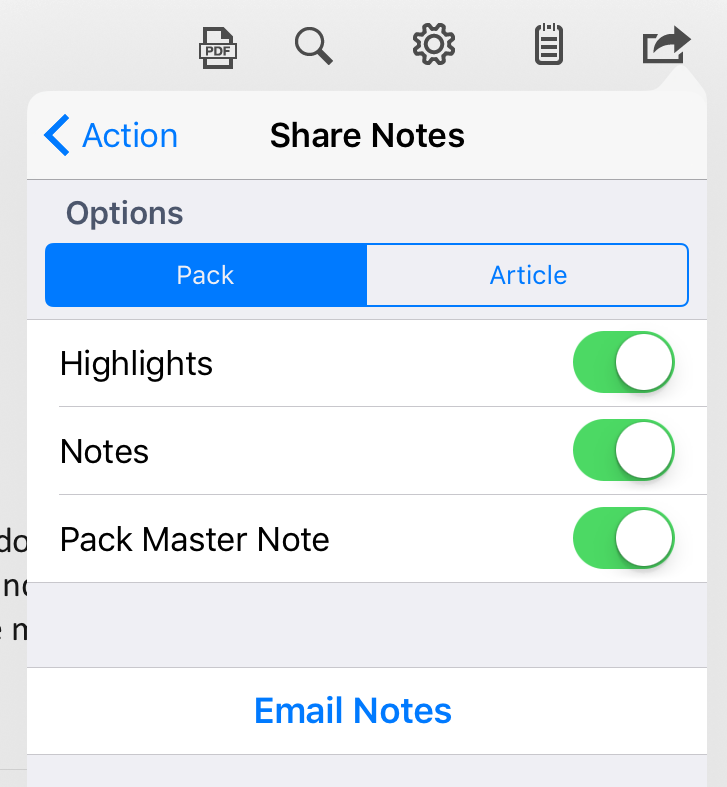
Using the Actions icon in the upper right of the screen, you can choose to share your highlights and notes or import other people's.

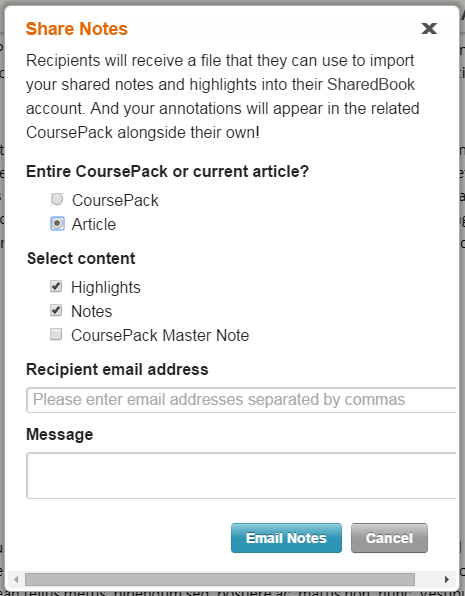
Sharing notes and highlights so colleagues can view them right in their web reader or the mobile app along-side their own notes makes studying in groups a lot easier. From the Actions panel, select Share Notes, then choose whether to share some or all of your Highlights, Notes and Master Notes for the entire pack or a specific Article before sending them via email to another person.
When notes and highlights are shared from a SharedBook account, an email with a .xanedu file attachment is delivered to the intended recipient. Shared notes and highlights can be imported into either the Web Reader or the mobile app. If you're expecting an email with shared notes and highlights and it has not arrived, please be sure to check your email spam folder.
On a mobile device, follow these steps to import notes and highlights:
- Open the email shared notes and highlights email on your tablet device (this step is required to complete the import process)
- You must have your own copy of the pack your colleague took notes in downloaded to your tablet
- In the shared notes and highlights email, tap on the .xanedu attachment icon that's attached to the message
- Choose the option to open the attachment in the SharedBook App
Printing Notes and Highlights
You can also print from the mobile app by selecting the Print option from the Action menu.
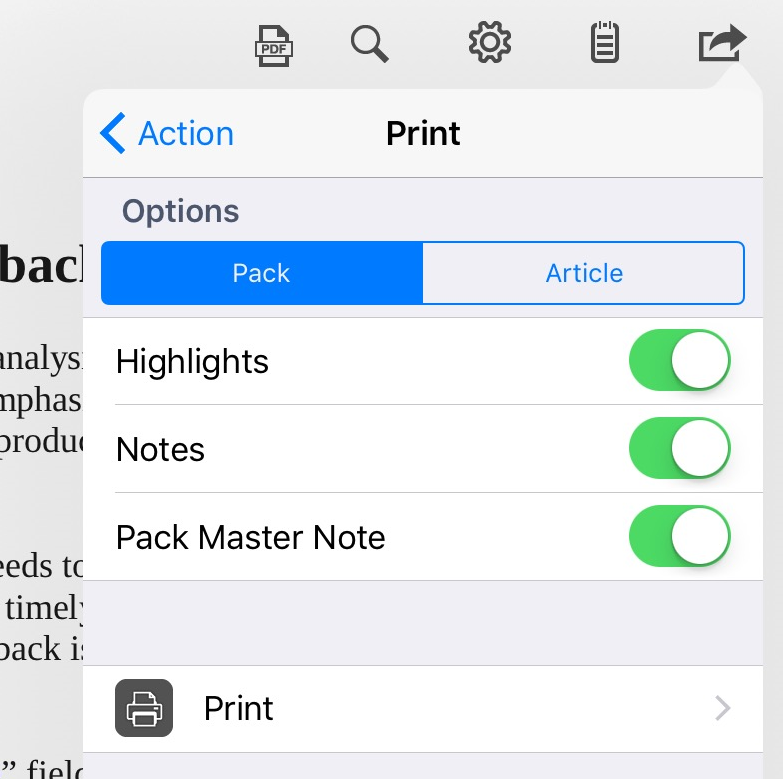
You can either print the entire pack or a specific article. You'll have the option to remove Highlights, Notes and the pack Master Note (and the Article Content if you're only printing one article).
Return to topAccess on a Laptop or Desktop Computer
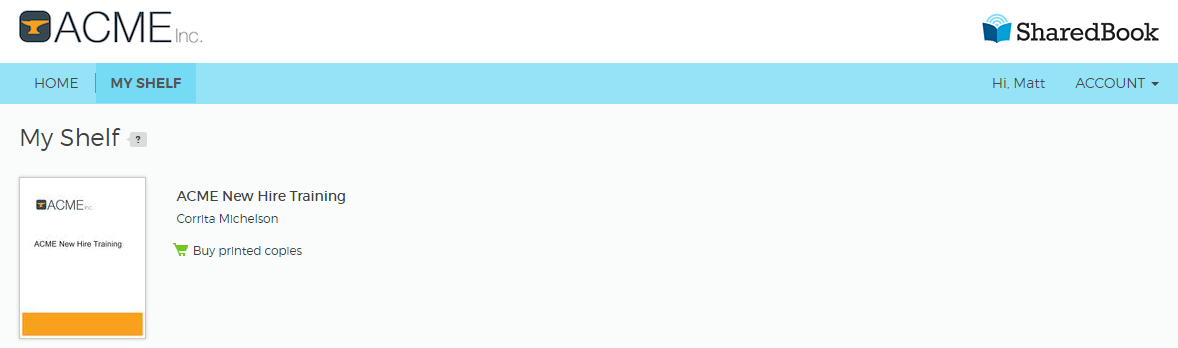
SharedBook works on the latest versions of the most common web browsers (Chrome, Firefox, Safari and Internet Explorer). When you log into your SharedBook account, you'll see all of the packs in your library.
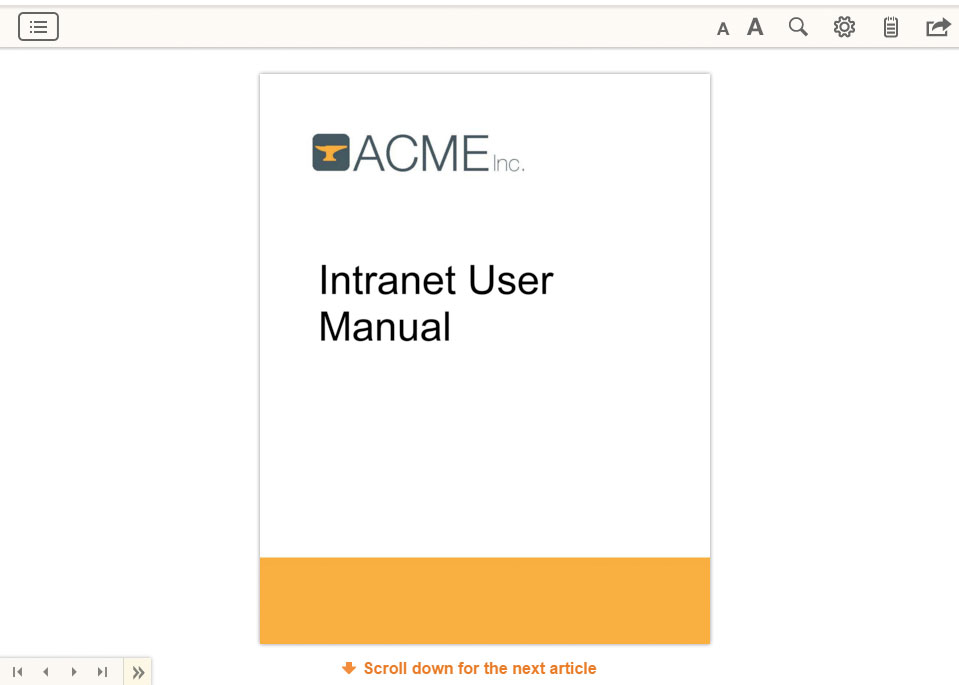
You can select View Pack for the item you want to view. This will launch a new browser window or tab that loads the selected pack, showing you the cover page.
 Return to top
Viewing Packs on a Laptop or Desktop Computer
Navigating the Pack
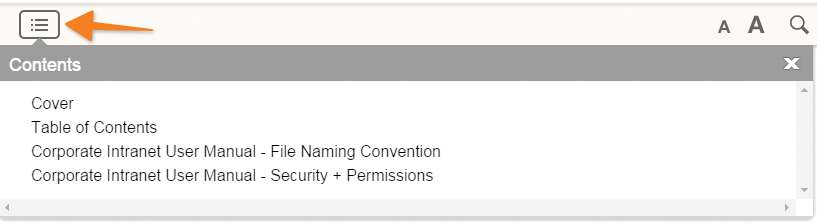
Navigate to specific articles of your pack using the pack Contents panel. Select the icon on the upper left to open the panel.
In the bottom right of the screen, there are additional QuickNav options to help you jump to different sections of your pack.
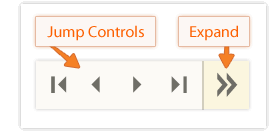
The first four buttons can be used to quickly navigate forward and backward inside the pack. The fifth button on the right will provide more details about the section of the pack you're currently viewing.

Text Size and Margins
The Font/Margin Panel provides options for tailoring the reading experience to your own reading style. For easier long-form reading and improved reading comprehension, choose a comfortable text size and wide margins. For quick scanning, you might prefer a smaller text size and narrow margins.
Search
The magnifying glass button lets you search the article you're reading for specific text.
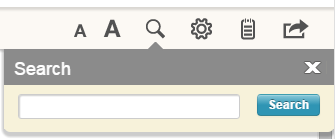
As soon as you enter text, you'll see a list of points in the article using that text. Just select the one you want and you'll be brought to that section of the article.
Printing
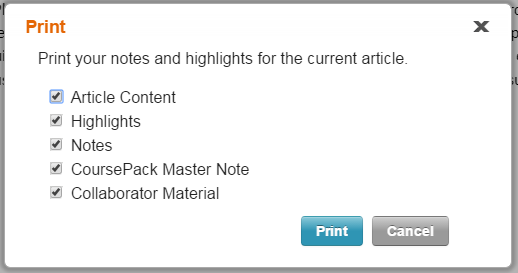
Depending on your organization's SharedBook settings, you may have the option to print pack content. Select the Action icon and then choose Print.
This lets you select which items from the pack you want to print. Once you've selected the items you'd like to print, tap the blue Print button and print your document. Depending on company permissions and settings, printing may be disabled for some or all of the pack contents.
Icon Glossary
|
Settings | Select this icon to access settings such as highlight color and label. |
 |
Content | Select this icon to view the list of articles in your pack. Select a title to navigate to the first page of the article. |
| Actions | Select this icon to Import Shared Notes, Share Notes or Print. | |
|
Font Size | To change the font size of the pack, click on the small 'A' to decrease the font or the large 'A' to increase the font. |
| Highlights & Notes | Choose this icon to access your pack notes, or to view all notes and highlights. |
Return to top
Working with Notes & Highlights on a Laptop or Desktop Computer
Create Notes and Highlights
To create notes and highlights in the web reader, select text in an article to highlight it. A highlight appears automatically on selected text, tap the highlight to open the highlighting toolbar.
Use the options in the toolbar to change the color of the highlight, or add a note. You can also use the delete option in the toolbar to delete highlights and notes.
Notes and Highlights Panel
The Notes and Highlights panel provides access to all of your notes and highlights—select the icon on the upper right to open the panel.
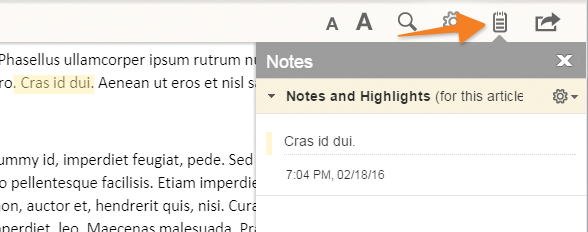
You can click on any highlight in the panel to navigate directly to the highlighted text in the pack. You can also add a note to any highlight in the panel by selecting the Pencil icon beneath the highlighted text.
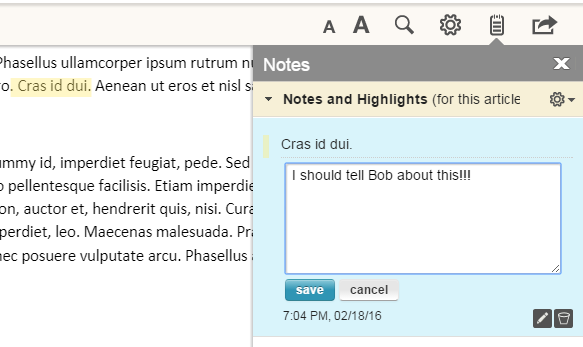
Once you've entered your note, click Save. You can select the Pencil icon at any time to add or further edit the note, or you can delete it by selecting the Trash Can icon next to the pencil.
Note Icons
After a note is added, a note icon will appear on the page next to the highlighted text—click on the note icon to navigate directly to the note in the notes panel.
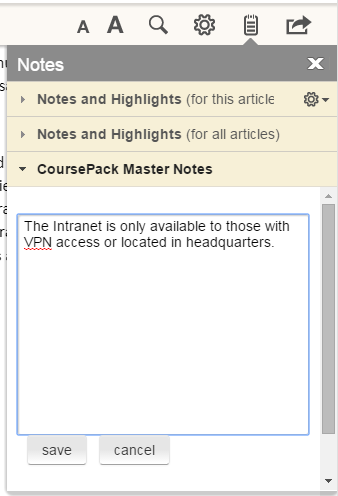
Master Notes
At the bottom of the Notes and Highlights window you can also add Master Notes for the entire course pack. Master notes are different from the regular notes that are anchored to article text. Master Notes are more of a notebook for you to use in a general way that doesn't mark up an article.
Settings
The settings menu provides another option for changing the default highlight color—the next highlight you make will be in the color that you select here. You can also change your Display Nickname—the name that appears on your shared annotations.
Sharing Notes and Highlights in the Web Reader
Sharing notes and highlights makes studying in groups a lot easier—friends can view them right in the Web Reader or the SharedBook mobile app along-side their own notes. Under the Actions menu, you can Share Notes and Import Shared Notes.
In the Actions panel, select Share Notes and then pick exactly which notes you want to share, enter the email address of the people you want to share the notes with and add a message.
When notes and highlights are shared from a SharedBook account, an email with a .xanedu file attachment is delivered to the intended recipient. Shared notes and highlights can be imported into either the Web Reader or the mobile app. If you're expecting an email with shared notes and highlights and it has not arrived, please be sure to check your email spam folder.
- Save the .xanedu file that's attached to the email message to an easy to locate place on your computer
- Open the pack that you want to import the notes into in the Web Reader
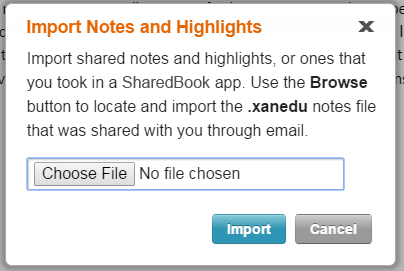
- Select the Actions menu icon in the toolbar at the top of the Reader screen, then choose the Import Notes and Highlights option
- In the Import Notes and Highlights dialog, use the Browse... option to locate the .xanedu file that you saved to your computer, then choose Import
- Your imported notes will now appear in the Notes panel in the pack with which they're associated
 Return to top
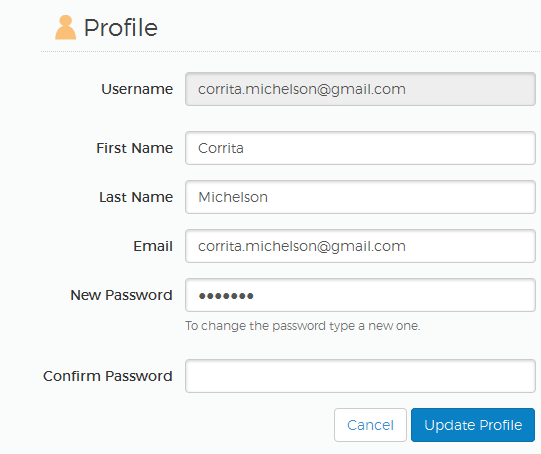
Your Profile
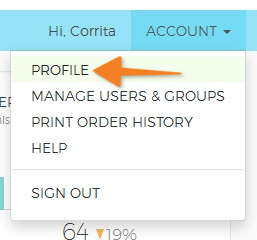
Your profile contains your account's username, your name, email address and password. To access your profile information, sign into your SharedBook account using a web browser, open the Account menu located in the top navigation menu on the right-hand side. In the Account menu, select the Profile option.
With the exception of username, you can update your profile information as needed.
 Return to top